When I moved to my current apartment, my old bathroom cupboard didn't really fit in, so I decided to transform it into a dollhouse. It was made of real wood, so it would have been pity to just throw it away. The back wall is one of the sides of the cupboard. The sides are the other side sawn in half. The parts are held together by metal pieces and screws, because that's the easiest way. The other method would have involved drilling a lot of holes of specific depth, so I decided that a couple of visible metal parts was a smaller problem than hole drilling gone wrong. The front wall is a notice board made of cork. I had to take it apart and make it smaller. The downstairs floor is a piece of cork left over after making the front wall. I decided to use the notice board for the front wall, because it was easier to make window and door holes in it.
Here the house is painted with primer and the doors and windows are in place temporarily to check what the house will look like. I like some realism in my dollhouses and that means having stairs between the floors. This one is going to have the entrance to the upper floor on the back of the house and stairs on the side of the house. The lower level on the back is going to be a back alley. Adding those parts outside the house also solved the problem of keeping the house stable. As you can see, I put an extra leg under the ledge.


The downstairs cork floor in this house has four coats of varnish. First two were applied with a brush and the latter two with the method that's used for real parquet floor: pouring quite a lot of varnish on the floor and spreading it evenly with a wide spatula. Even with those two thick coats of varnish, the floor is still a bit uneven, but I'm going to leave it like that. The upstairs floor is cardboard with printed wood effect and two coats of varnish applied to protect it from scratching. The outside of the house was painted with granite effect paint. The paler shade required three coats before it was even enough.


The stairs are made of cardboard and the railings are from materials left over from the Birchfield house. Nothing is glued in place at this stage as they need to be painted first. Varnishing doors and windows isn't something I find relaxing, so I usually do it all at once to get it over with. I used two kinds of tinted varnish for these. The yellow (that's supposed to be birch color) parts are for the Birchfield house and the reddish (mahogany) ones for the cupboard house. The varnish was fairly odorless as it was water based. Its instructions said it's suitable for children's toys, so I guess it's relatively harmless compared to the solvent based ones.


Here the doors and windows have been installed. The bay window is still missing, because it hadn't been painted it yet. As it was made of white plastic, the tinted varnish wasn't suitable for it. The fence was an experiment and I didn't use it for this house in the end. In the last photo, the doors and windows have two coats of varnish, but the railing only has one. I thought of giving it a second coat, but then I thought it looked better this way, a bit weathered.


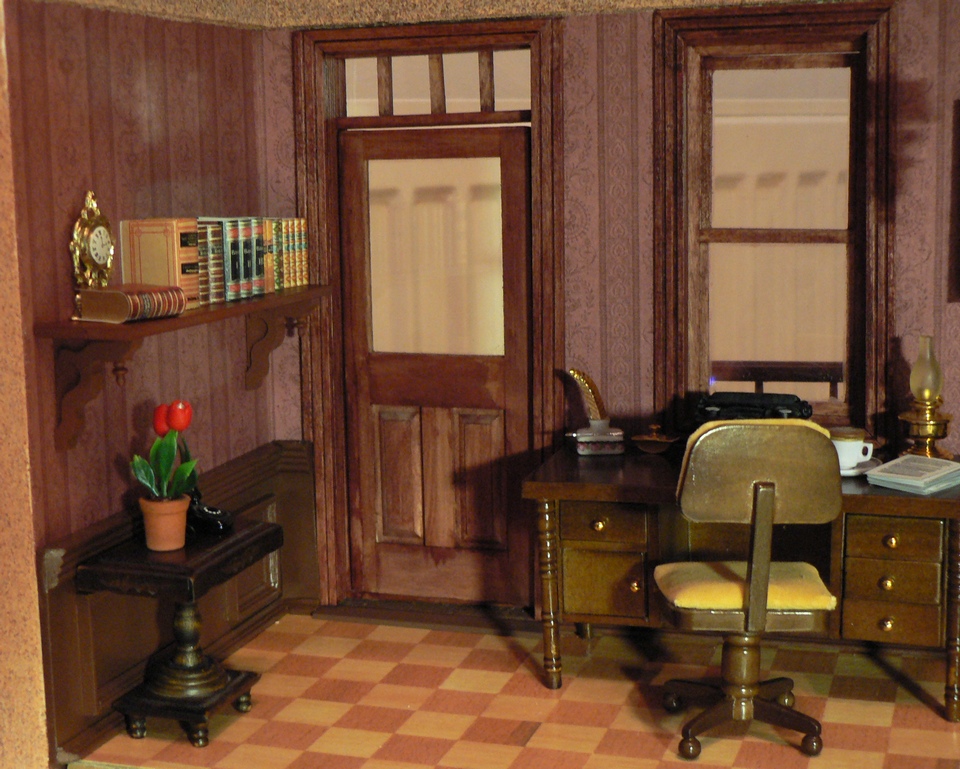
Upstairs got office furniture.


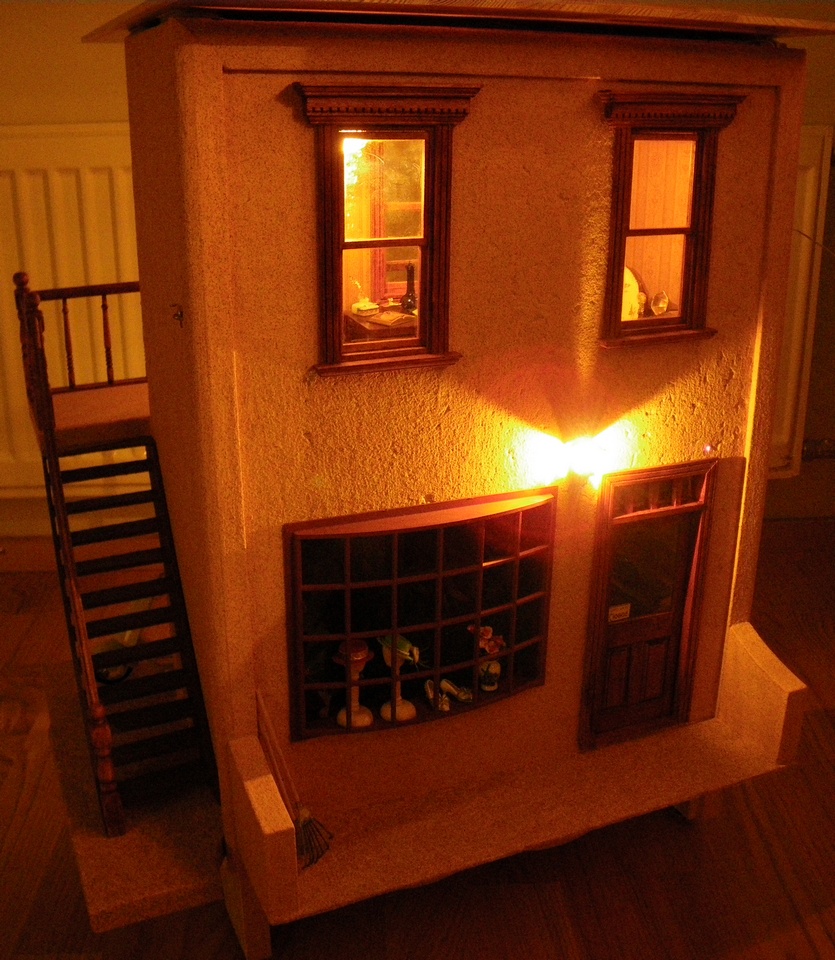
Upstairs exterior on the back of the house.


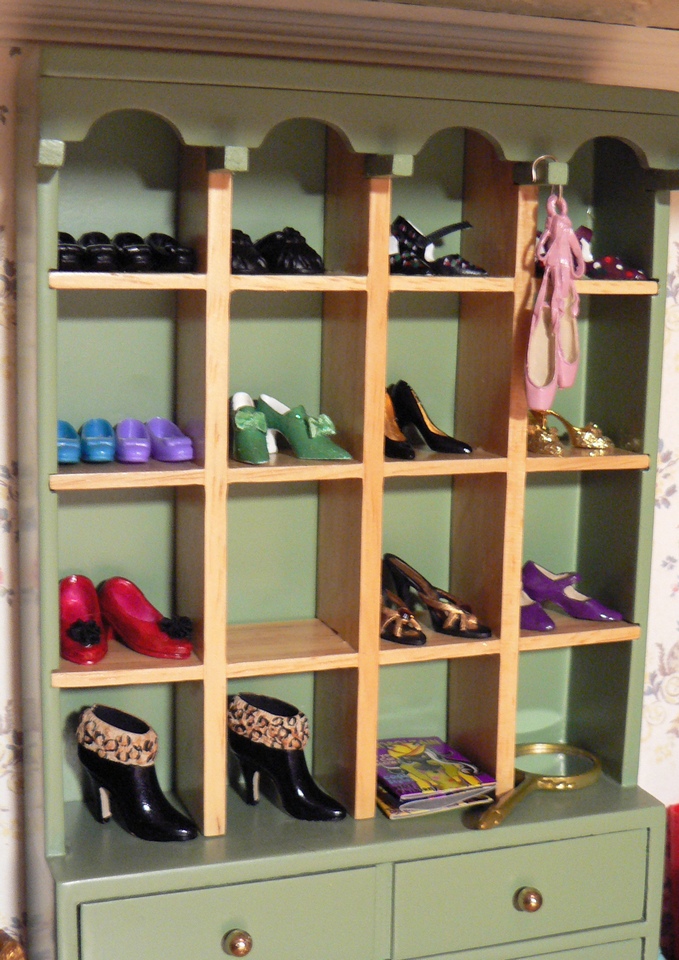
Downstairs became a shop selling shoes, bags and hats.


Store front.

I installed some more lights and then tested the night mode of my camera. I switched off the lights in the room and took these photos. The camera was on tripod and I used the 2 second timer to take the photos. The pictures are a bit yellow, but otherwise quite nice.